Freezer Not Cold Enough? 6 DIY Fixes for Semi-Frozen Food | Australian Guide
There's something uniquely frustrating about opening your freezer to find your ice cream soft, your frozen pizza thawed around the edges, and everything in that strange limbo between frozen and defrosted. When your freezer isn't cold enough, you're not just dealing with the inconvenience of semi-frozen food – you're also potentially risking food safety and wasting money on groceries that spoil too quickly! But here's the good news – you don't always need to call in the pros!
I've helped countless homeowners tackle this exact problem, and trust me, about 75% of freezer temperature issues can be resolved with straightforward DIY fixes. This guide will walk you through the 6 most common causes of poor freezing performance and show you exactly how to get your freezer properly cold again before your frozen foods are completely ruined.

Common Reasons Your Freezer Isn't Cold Enough
Before diving into solutions, it helps to understand what causes the "almost frozen" problem. When your freezer maintains temperatures around -2 to -1°C (28-30°F) instead of the ideal -18°C (0°F), it's typically due to one of these issues:
- Temperature settings — The #1 cause, affecting about 40% of "not cold enough" complaints
- Overpacking or poor air circulation
- Door seal (gasket) problems
- Dirty condenser coils
- Defrost system malfunctions
- Refrigerant issues or compressor problems
The good news? The first four causes account for roughly 85% of all freezer temperature problems and can be fixed with basic DIY skills and minimal tools.
6 Effective DIY Fixes for Freezers That Aren't Cold Enough
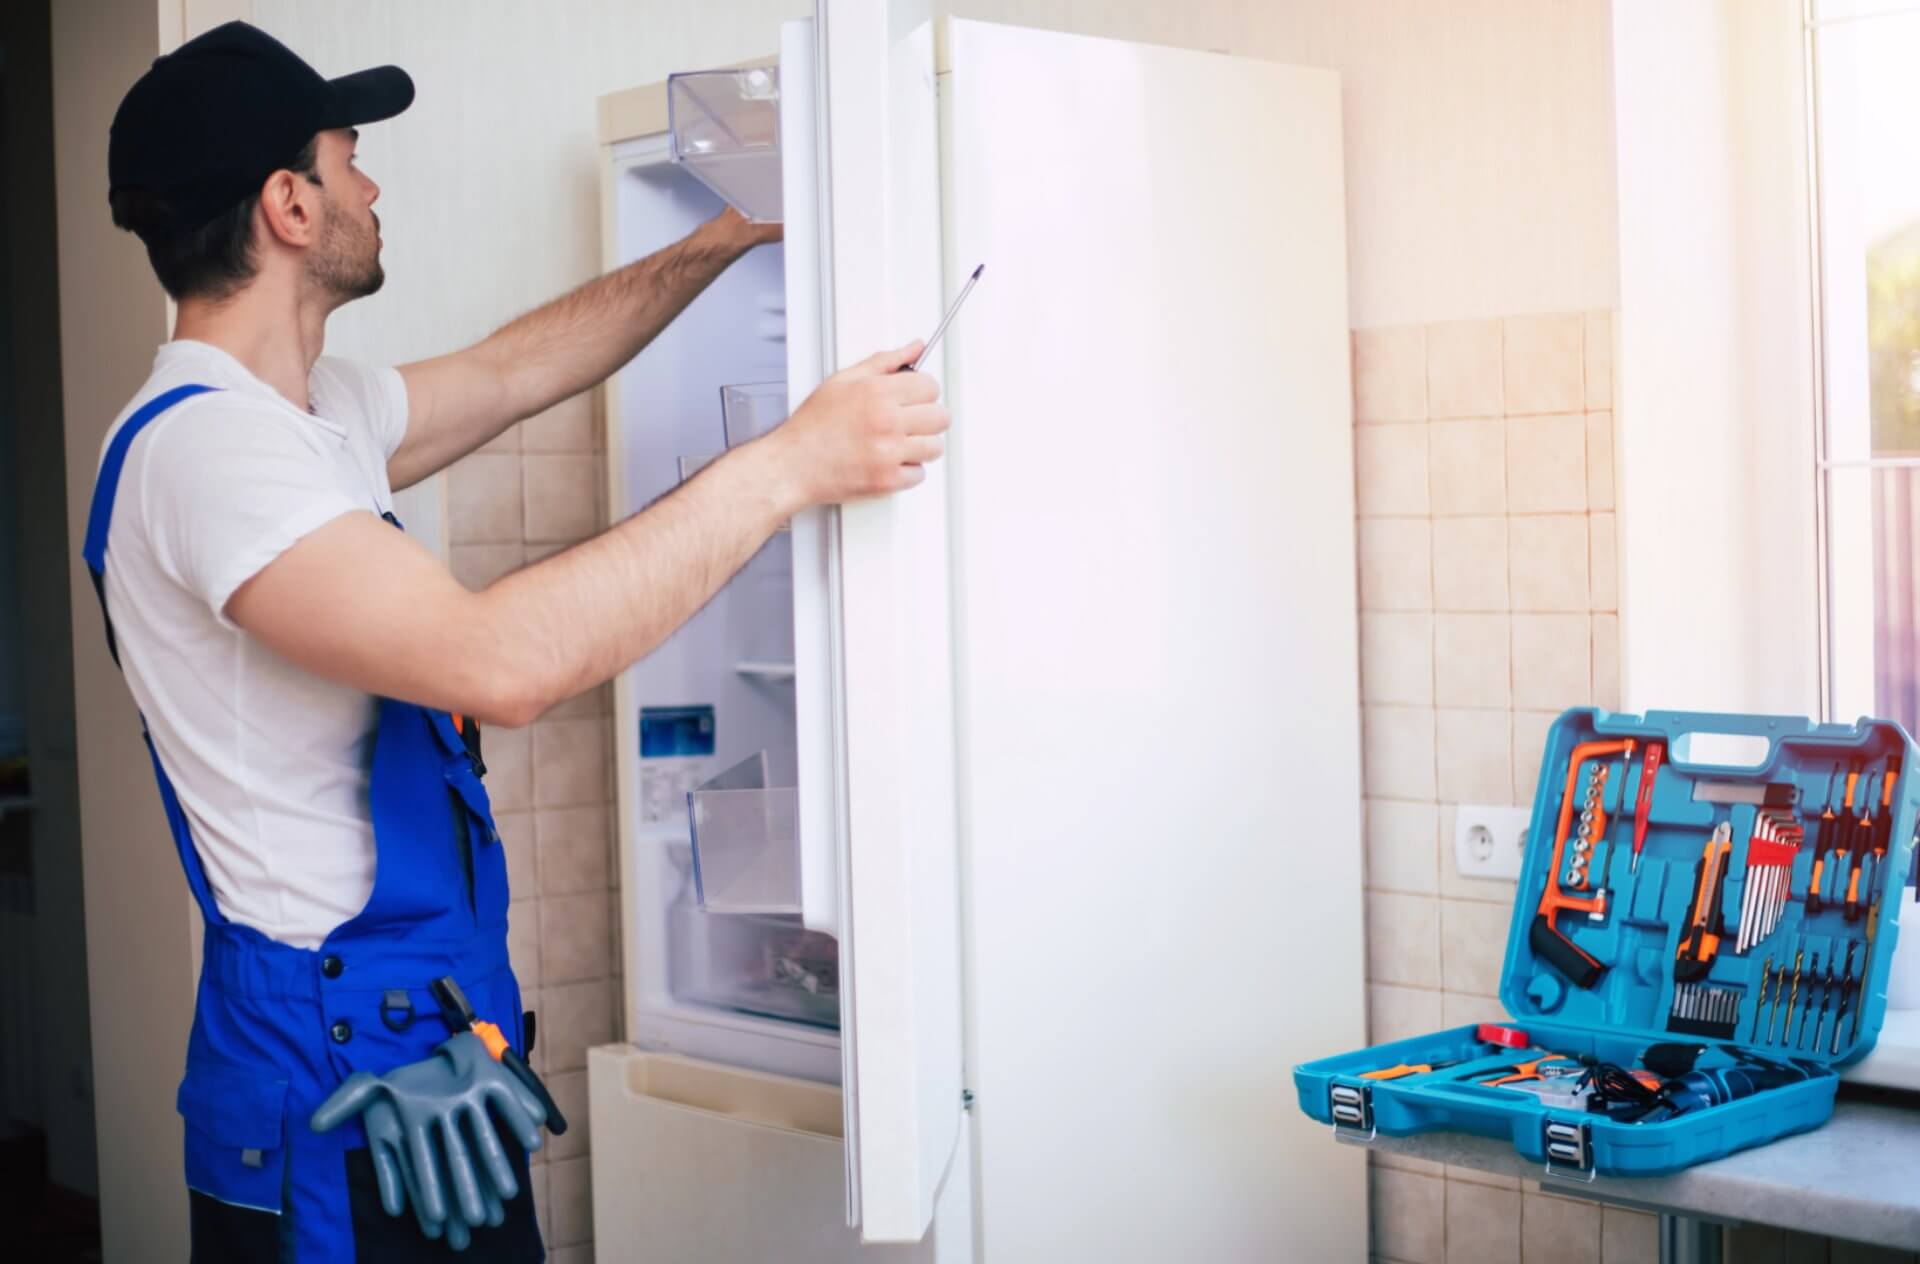
1. Check and Adjust Temperature Settings
Possible Signs:
- All items are consistently semi-frozen rather than solid
- Problem began suddenly after someone accessed the freezer
- Temperature fluctuations coincide with changes in kitchen temperature
- Digital display shows temperature above -18°C (0°F)
Many freezer temperature problems have a surprisingly simple cause – incorrect settings. This is especially common after power outages, accidental dial movements, or when someone else in the household adjusts settings.
DIY Fix:
- Locate the temperature control — It may be:
- A numbered dial (typically 1-7 or 1-9) inside the freezer
- A digital control panel on the exterior
- Combined with refrigerator controls on some models
- Confirm current settings:
- For dial controls, higher numbers mean colder temperatures
- For digital controls, check the displayed temperature
- Adjust to proper settings:
- Set dial controls to the highest number (7 or 9 typically)
- Set digital controls to -18°C (0°F) for optimal freezing
- Wait 24 hours for the temperature to stabilize before making additional adjustments
- Use a separate freezer thermometer to verify the actual temperature independently
Pro Tip: A freezer thermometer costs just $10-20 at Bunnings or Kmart but gives you an accurate reading regardless of what the built-in thermostat claims. Keep one in your freezer permanently for peace of mind!

2. Address Overpacking and Poor Air Circulation
Possible Signs:
- Items near vents are solidly frozen while others remain soft
- Temperature problems began after adding many items at once
- Freezer appears tightly packed with little visible space
- Difficulty finding items due to cramped conditions
Your freezer needs proper air circulation to maintain consistent temperatures throughout. When it's overpacked, cold air can't reach all areas effectively.
DIY Fix:
- Remove and organise items — Take everything out temporarily
- Identify air vents — Locate all air circulation vents inside the freezer
- Create a new organisation plan:
- Keep at least 2 inches of clearance around all vents
- Arrange items with small spaces between them rather than tightly packed
- Place frequently used items at the front for easy access
- Group similar items together for better organisation
- Follow the 75% rule — Keep your freezer about 75% full for optimal efficiency
- Too empty wastes energy as cold air spills out when opened
- Too full restricts airflow and creates warm spots
Organisation Tip: Use stackable freezer bins to create zones for different food types while maintaining air gaps. This improves both temperature consistency and organisation!
3. Check and Replace Door Seals (Gaskets)
Possible Signs:
- Frost or ice buildup around the door edges
- Visible damage or deformation in the rubber seal
- Light visible around door edges when closed
- Increased energy bills despite no other changes in appliance usage
A damaged or worn door gasket allows warm air to enter the freezer, making it work harder and preventing it from reaching optimal temperatures.
DIY Fix:
- Inspect the door seal — Run your hand around the entire perimeter feeling for:
- Tears or cracks in the rubber
- Areas where the seal feels stiff rather than flexible
- Corners that don't sit flush against the cabinet
- Perform the dollar bill test:
- Close the door on a dollar bill or piece of paper
- Try to pull it out while the door is closed
- If it slides out easily, the seal is failing in that spot
- Test multiple locations around the entire door
- Clean existing seals first:
- Mix a solution of warm water and mild dish soap
- Gently scrub all surfaces of the gasket with a soft cloth
- Pay special attention to creases and folds where debris accumulates
- Dry thoroughly with a clean towel
- Replace damaged seals:
- Purchase a replacement gasket specific to your freezer model
- Remove the old gasket (typically held by screws or snapped into a channel)
- Install the new gasket starting at the top corners
- Work your way around, ensuring it sits properly in the channel

4. Clean the Condenser Coils
Possible Signs:
- Freezer has been getting progressively warmer over months
- Compressor runs frequently or constantly
- Bottom of freezer feels unusually warm
- Visible dust buildup on visible parts of the refrigerator/freezer unit
- Increased energy bills (especially noticeable with Australia's electricity prices)
Dirty condenser coils are responsible for approximately 70% of gradual cooling performance issues in freezers and refrigerators. They prevent efficient heat transfer, making your freezer work harder while achieving less cooling.
DIY Fix:
- Locate the condenser coils — They may be:
- At the back of the freezer
- Underneath the freezer (accessed from the front by removing a grille)
- In some newer models, built into the cabinet walls (these don't require cleaning)
- Prepare for cleaning:
- Unplug the freezer or turn off the circuit breaker
- Pull the freezer away from the wall if necessary
- Have a vacuum with brush attachment and a coil brush ready
- Remove built-up dust and debris:
- Vacuum all accessible coil surfaces
- Use a long, flexible coil brush to reach deeper into the coil assembly
- Pay special attention to corners and crevices where dust accumulates
- Vacuum the floor area thoroughly after cleaning
- Clean the condenser fan:
- Locate the fan that blows across the coils (usually near them)
- Gently clean the blades to ensure proper airflow
- Restore power and monitor performance
Maintenance Tip: Mark your calendar to clean condenser coils every 6 months - even more important in Australia's dusty conditions and during bushfire season. This single maintenance task can improve freezer efficiency by up to 30% and extend appliance life by 3-5 years!

5. Check the Defrost System
Possible Signs:
- Frost buildup on the interior walls of the freezer
- Freezer temperature fluctuates over time
- Ice accumulation around the cooling vents
- Unusual sounds like clicking or water dripping inside the unit
Modern freezers have automatic defrost systems to prevent frost buildup. When these systems malfunction, frost accumulates on the cooling coils, insulating them and reducing cooling effectiveness.
DIY Fix:
- Identify your freezer type:
- Manual defrost freezers require regular manual defrosting
- Automatic defrost freezers should manage this themselves
- For manual defrost freezers:
- Turn off and unplug the freezer
- Remove all food to a cooler with ice
- Place towels around the base to catch water
- Leave the door open until all frost melts
- Clean and dry the interior thoroughly before restarting
- For automatic defrost systems, check components:
- Defrost timer — Controls when defrost cycles occur
- Defrost heater — Melts frost from the evaporator coils
- Defrost thermostat — Monitors temperature during defrost
- Test for defrost cycle operation:
- Listen for a clicking sound and pause in compressor operation
- This typically happens every 8-12 hours and lasts 20-30 minutes
- If never occurring, indicates possible defrost timer failure
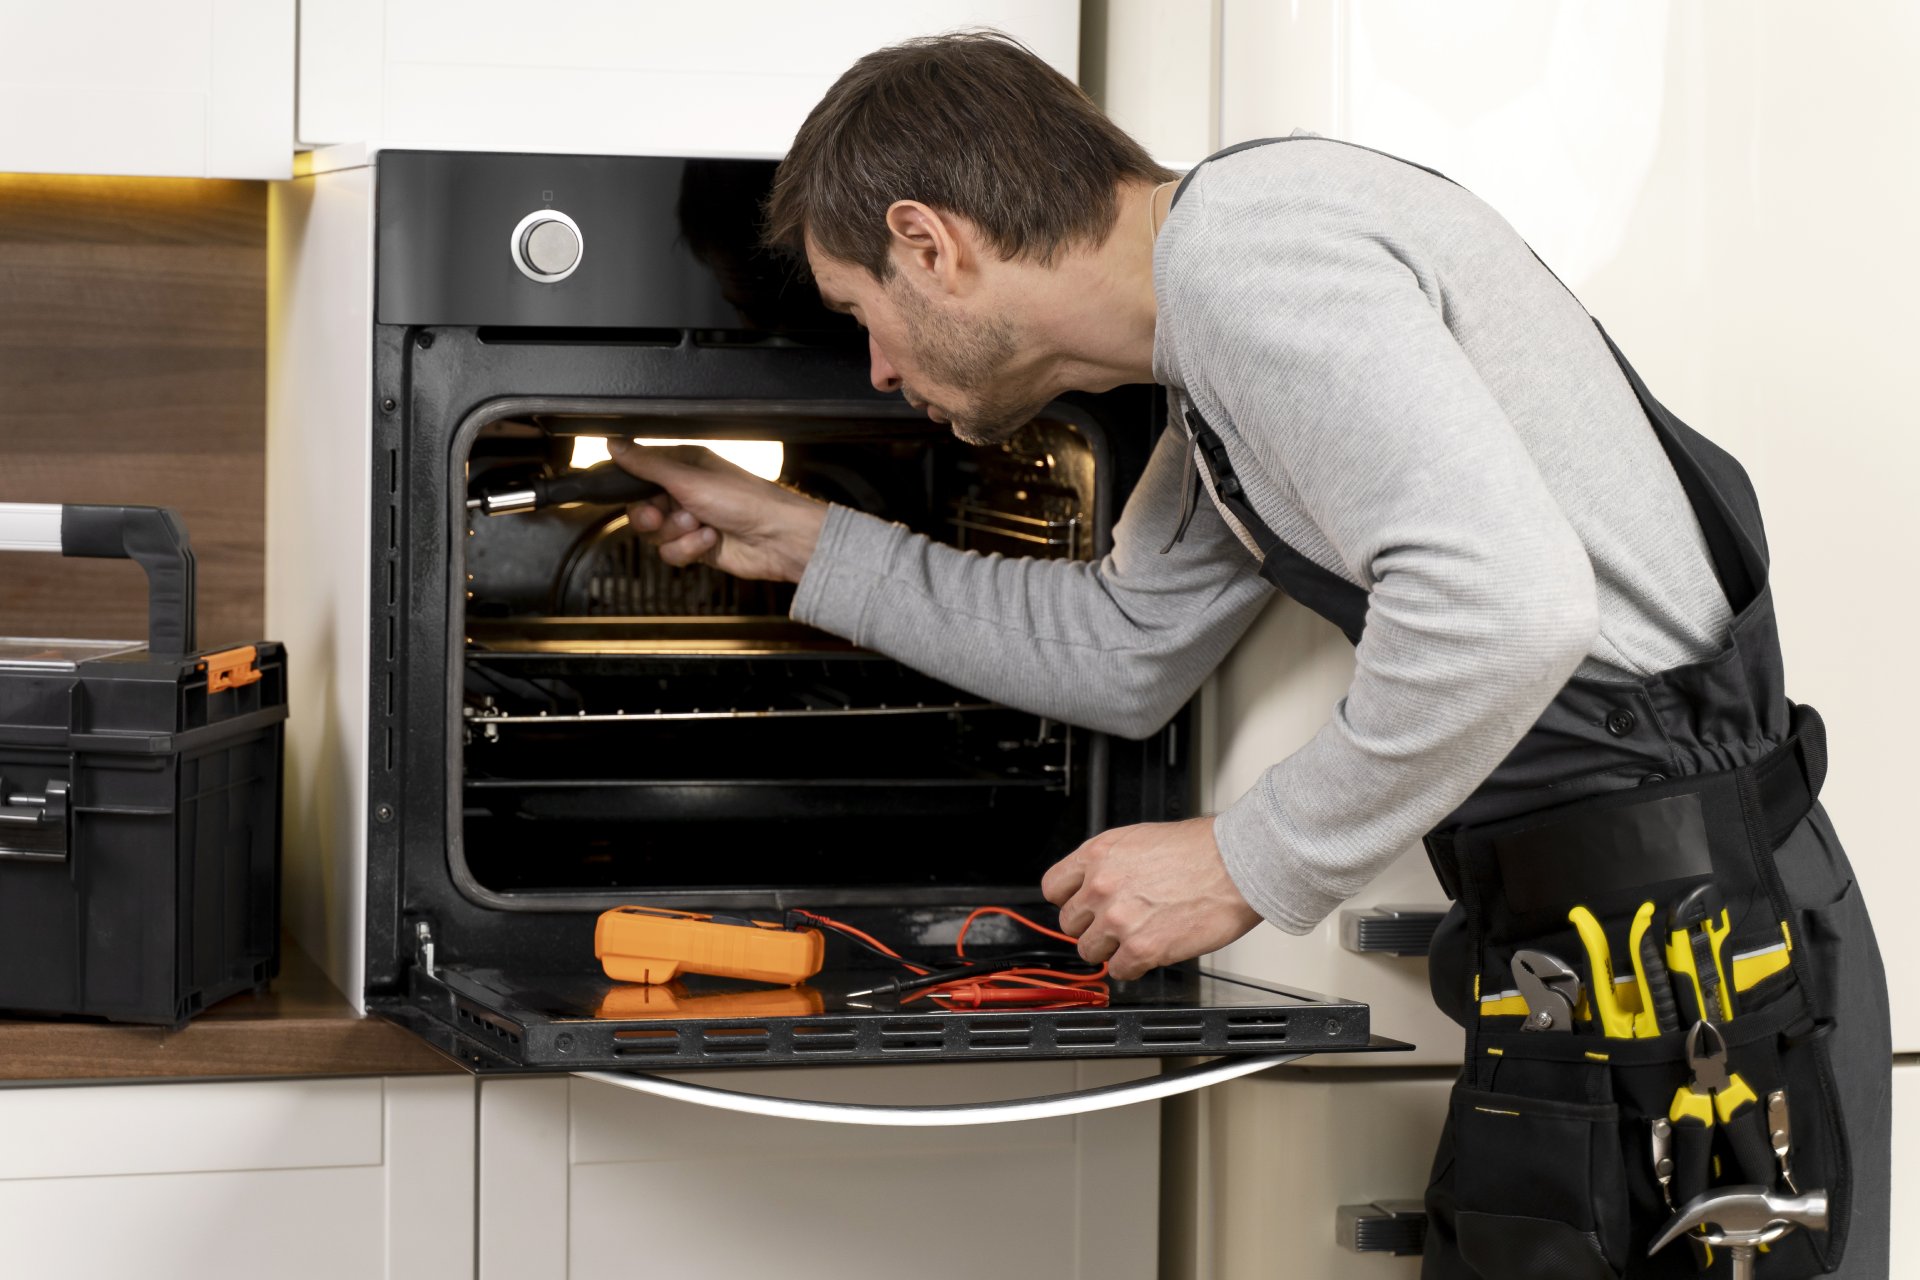
Warning: Testing defrost system components typically requires multimeter testing and partial disassembly. If you suspect defrost system problems but aren't comfortable with electrical testing, this is a good time to consult a professional.
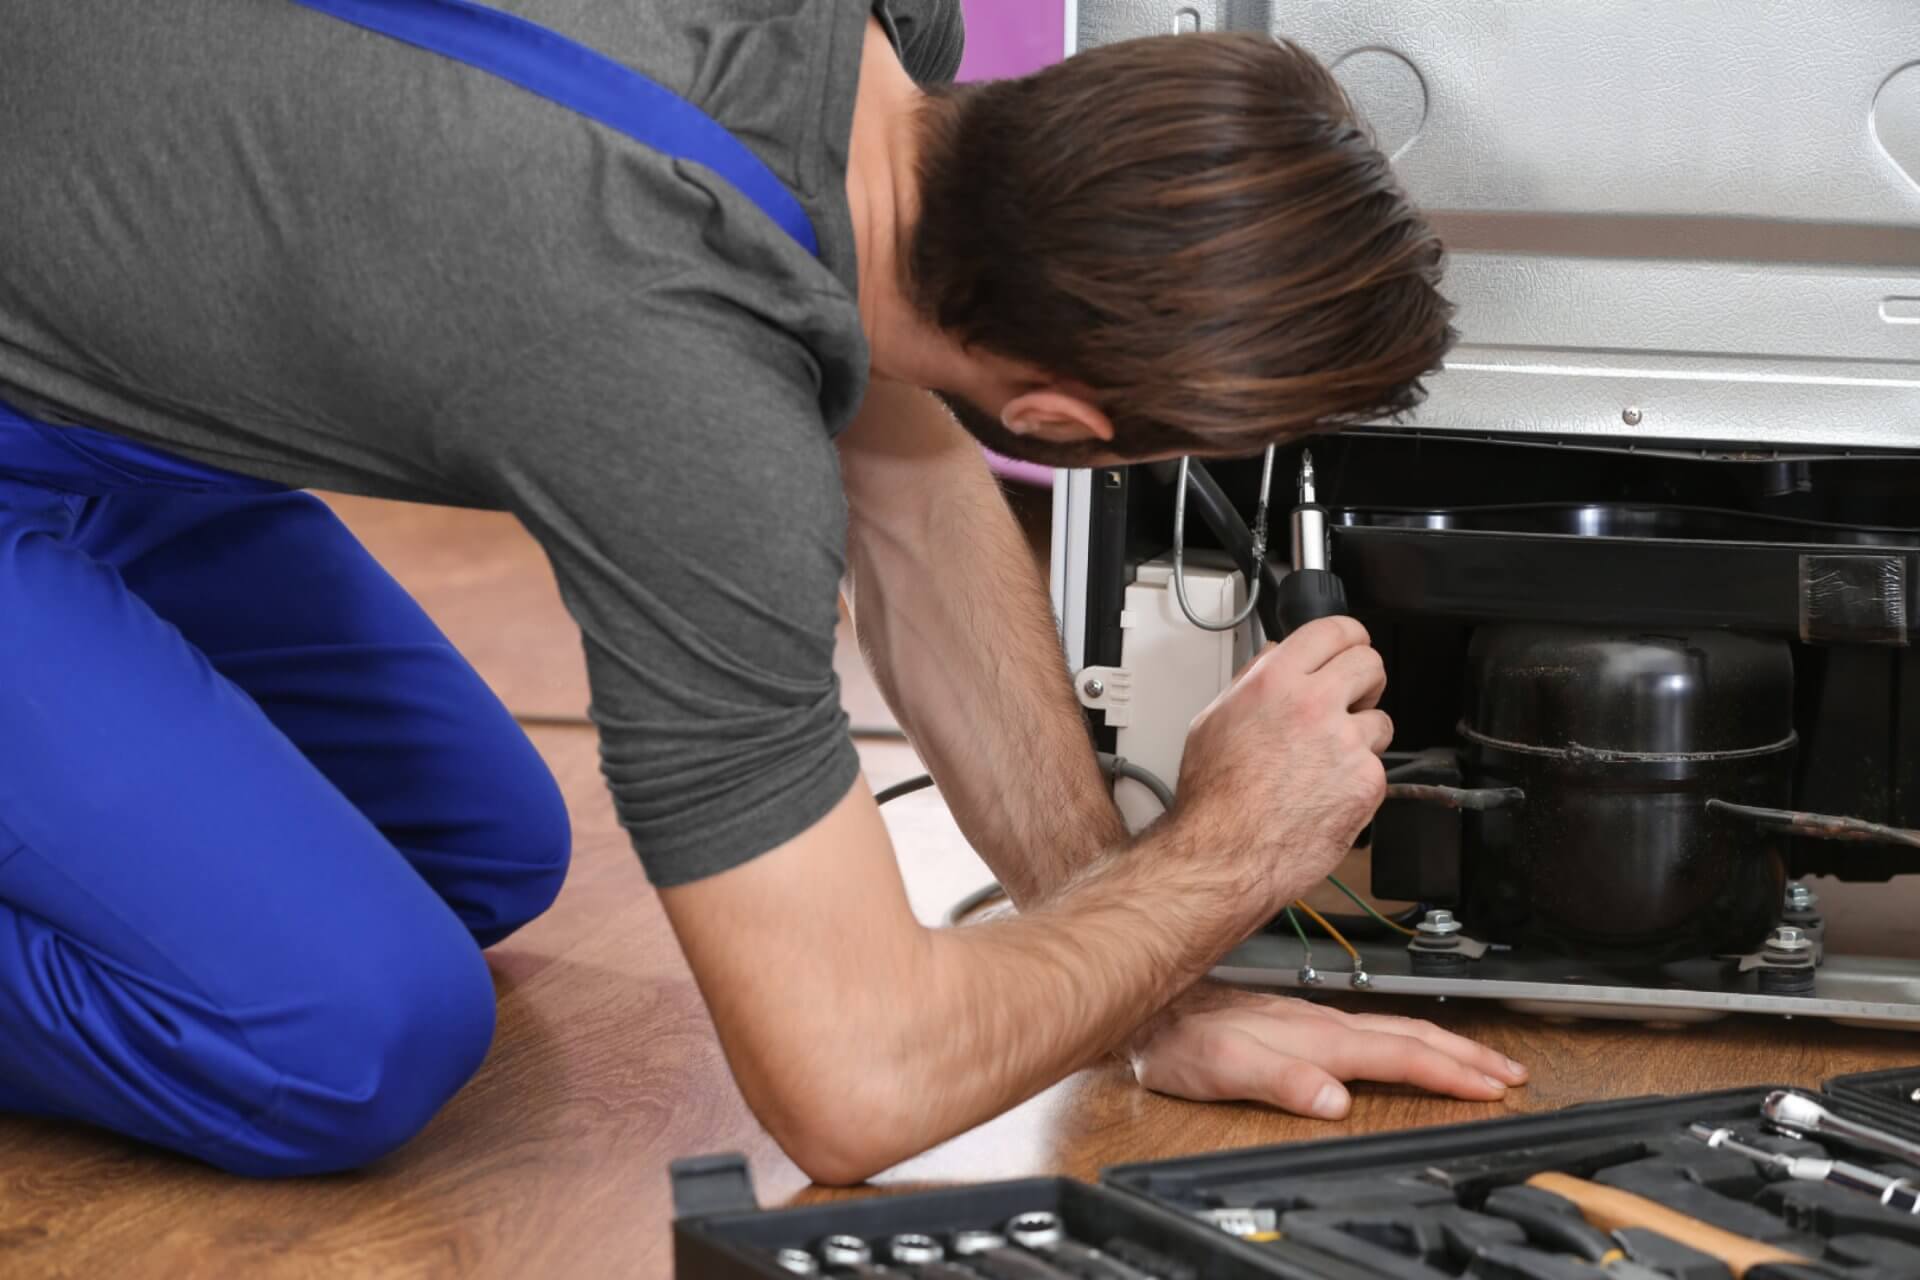
6. Address Refrigerant and Compressor Issues
Possible Signs:
- Freezer never reaches proper temperature despite all other fixes
- Compressor runs constantly without achieving coldness
- Unusual noise from the compressor area
- Complete absence of cooling or minimal cooling effect
Refrigerant leaks and compressor problems are less common but more serious issues that affect freezer performance. These typically require professional repair but understanding the symptoms helps you make informed decisions.
DIY Assessment:
- Listen to the compressor:
- The compressor should run periodically, not constantly
- It should make a consistent humming sound without grinding or clicking
- Silence could indicate electrical problems
- Check for oil spots:
- Look beneath the freezer for oil residue that might indicate refrigerant leaks
- Check along copper lines for oil traces
- Monitor run patterns:
- Compressor should cycle on and off
- Constant running or frequent short-cycling indicates problems
- Temperature decline test:
- Place a thermometer in the freezer after adjustment
- Temperature should drop steadily towards -18°C (0°F)
- If it plateaus at a higher temperature despite running, suspect refrigerant issues
Professional Repair Note: Refrigerant handling requires ARC (Australian Refrigeration Council) licensed technicians and specialised equipment. If you suspect these issues, contact a qualified technician. The repair cost ($300-600) is still significantly less than a new freezer ($800-2,500).
Prevention: Keep Your Freezer Running Efficiently
The best way to deal with freezer temperature problems is to prevent them in the first place:
- Clean condenser coils twice yearly — Mark it on your calendar as regular maintenance
- Check door seals quarterly — Use the dollar bill test in multiple locations
- Maintain proper spacing — Follow the 75% full rule and keep vents clear
- Monitor temperature — Keep a separate freezer thermometer for independent verification
- Defrost manual freezers when frost exceeds 1/4 inch — Don't wait until ice buildup is severe
When to Call a Professional
While these DIY fixes resolve the majority of freezer temperature issues, there are times when professional help is warranted:
- You've tried all the above solutions without success
- You suspect refrigerant leaks or compressor problems
- Your freezer is under warranty
- You're not comfortable working with electrical components
- The problem persists for more than 48 hours despite adjustments
Conclusion
A freezer that isn't quite cold enough is certainly frustrating, but as you can see, the fix is often simpler (and cheaper) than you might expect. In my experience, about 80% of "almost frozen" issues can be solved with the first four fixes alone - adjusting temperature settings, organising for better airflow, sealing the door properly, and cleaning those condenser coils.
Taking care of these simple maintenance tasks regularly can extend the life of your freezer by years and save you from the frustration and food waste that comes with improper freezing. Your freezer is designed to last 10-15 years with proper care - don't let preventable issues cut that lifespan short!
Frequently Asked Questions (FAQs)
What is the ideal temperature for a freezer? Food Standards Australia New Zealand (FSANZ) recommends keeping your freezer at -18°C (0°F) for optimal food preservation and safety. At this temperature, food can be stored indefinitely (though quality may decline over time).
How long should I wait after adjusting my freezer temperature? Allow 24 hours for the temperature to stabilize after making adjustments. Checking too soon may lead to unnecessary additional adjustments.
Why does my freezer temperature fluctuate throughout the day? Minor fluctuations (3-5°F) are normal during defrost cycles or after door openings. Larger or persistent fluctuations typically indicate airflow problems, door seal issues, or defrost system malfunctions.
Can a freezer be too empty? Yes! A too-empty freezer is less efficient because cold air spills out when the door opens. Maintain about 75% capacity by adding water containers if needed – they help maintain temperature stability and reduce energy costs.
How much does it cost to repair a freezer's defrost system in Australia? Professional repair for a defrost system typically costs $250-500 depending on the specific component that needs replacement. This is still much less than the $1,000-2,500 cost of a new freezer. Check if repairs are covered under Australian Consumer Law warranty protection.
Is it safe to eat food that has partially thawed in a freezer that isn't cold enough? Food Safety Information Council Australia advises that food held above 5°C for more than 2 hours should not be refrozen. Partially thawed food that still contains ice crystals and feels cold can generally be safely refrozen, though quality may be affected.

About Julian
Home appliance enthusiast and DIY repair specialist with a passion for helping others save money on appliance maintenance.
Related Articles
10 Warning Signs Your Fridge Compressor is Failing | Australian Guide 2025
Fridge Not Cooling? 11 DIY Fixes for Common Problems | Australian Guide