Ice Maker Not Working? 7 DIY Fixes That Work | Australian Guide 2025
Picture this - it's a scorching summer day, you're desperately craving a cold drink, but when you press your glass against the ice dispenser... nothing happens. Or maybe you peek inside the ice bin to find just a few sad, tiny cubes that wouldn't cool a thimble of water. When your ice maker stops working, it's not just frustrating - it's a genuine inconvenience that affects your daily comfort!
But here's the good news - you don't always need to call in the pros! I've helped hundreds of homeowners troubleshoot ice maker problems, and I can tell you that approximately 75% of ice maker issues can be solved with basic DIY fixes. This guide will walk you through the most common reasons your ice maker isn't producing ice and show you exactly how to get it working properly again without breaking the bank.
Common Reasons Your Ice Maker Isn't Producing Ice
Before diving into solutions, it helps to understand what might be causing the problem. When your ice maker stops working, it's typically due to one of these issues:
- Clogged water filter — The #1 cause responsible for approximately 70% of ice production problems
- Frozen water line
- Incorrect freezer temperature
- Water supply problems
- Faulty ice maker components
- Control arm or sensor issues
The good news? The first three causes account for roughly 80% of all ice maker failures and can be fixed with basic DIY skills and minimal tools.
7 Effective DIY Fixes for Ice Maker Problems
1. Replace the Water Filter
Possible Signs:
- Ice production has slowed or stopped completely
- Ice tastes or smells unusual
- Water from the dispenser flows more slowly than usual
- It's been more than 6 months since your last filter change
The water filter is designed to remove contaminants from your water before it reaches the ice maker. Over time, these filters become clogged with sediment, minerals, and other particles, restricting water flow to your ice maker.
DIY Fix:
- Locate your water filter — Usually found in one of these locations:
- Inside the refrigerator, upper right corner
- Base grille at the bottom of the refrigerator
- Back of the refrigerator near the water line connection
- Purchase the correct replacement filter — Always use the manufacturer-recommended filter for your specific model
- Replace the filter:
- Turn off the ice maker
- For internal filters: twist and remove the old filter, align and insert the new one
- For external filters: shut off the water supply, remove the housing, replace the filter
- Flush the system:
- Run 10-15 glasses of water through the dispenser to remove air and carbon particles
- Discard the first batch of ice produced
Pro Tip: Mark your calendar to replace the filter every 6 months. This simple 5-minute maintenance task prevents 70% of ice maker problems before they start!

2. Check Freezer Temperature
Why It Matters: Your ice maker requires the freezer to maintain a specific temperature range to produce ice efficiently. If the freezer is too warm, ice production will be slow or non-existent. According to Food Standards Australia New Zealand, the ideal freezer temperature is -18°C.
DIY Fix:
- Check the current temperature — Place a reliable freezer thermometer in the centre of your freezer
- Wait 12-24 hours for an accurate reading
- Adjust as needed:
- If the temperature is above -18°C, adjust the freezer setting to colder
- Wait 24 hours after adjustment before checking again
- Ideal temperature range is between -18°C and -20°C
- Verify door seals — Poor door seals can lead to temperature inconsistencies:
- Close the door on a piece of paper
- If you can pull the paper out easily, the seal may need replacement
Energy Tip: While it might be tempting to set your freezer extra cold to make ice faster, temperatures below -20°C use more energy without significantly improving ice production.
3. Check for Frozen Water Line
Possible Signs:
- Ice maker suddenly stopped working
- No water coming from the dispenser
- Visible frost or ice buildup on the water line
- Humming noise from the back of the fridge but no water flowing
The water line that feeds your ice maker can freeze, especially if your freezer temperature is set too cold or if the line is positioned against the freezer wall.
DIY Fix:
- Unplug the refrigerator — Safety first!
- Locate the water supply line — Usually a 1/4-inch plastic tube running into the back of the freezer
- Check for frozen sections — Feel for hard, inflexible areas in the tubing
- Thaw the line safely:
- Use a hair dryer on low heat setting (never use open flames or high heat)
- Hold the dryer 15 cm away from the line and move constantly
- Continue until the entire line is flexible
- Prevent future freezing:
- Ensure the water line isn't touching freezer walls
- Check that the freezer isn't set too cold
- Consider installing insulation sleeves on exposed sections of the water line
Caution: When using a hair dryer near the refrigerator, ensure your hands are dry and you're standing on a dry surface to prevent electrical hazards.
4. Verify Water Supply
Possible Signs:
- Ice maker and water dispenser both not working
- No sound of water filling the ice maker tray
- Recently installed or moved refrigerator
If your ice maker isn't getting water, it can't make ice. This seems obvious, but water supply issues are actually responsible for about 15% of all ice maker problems.
DIY Fix:
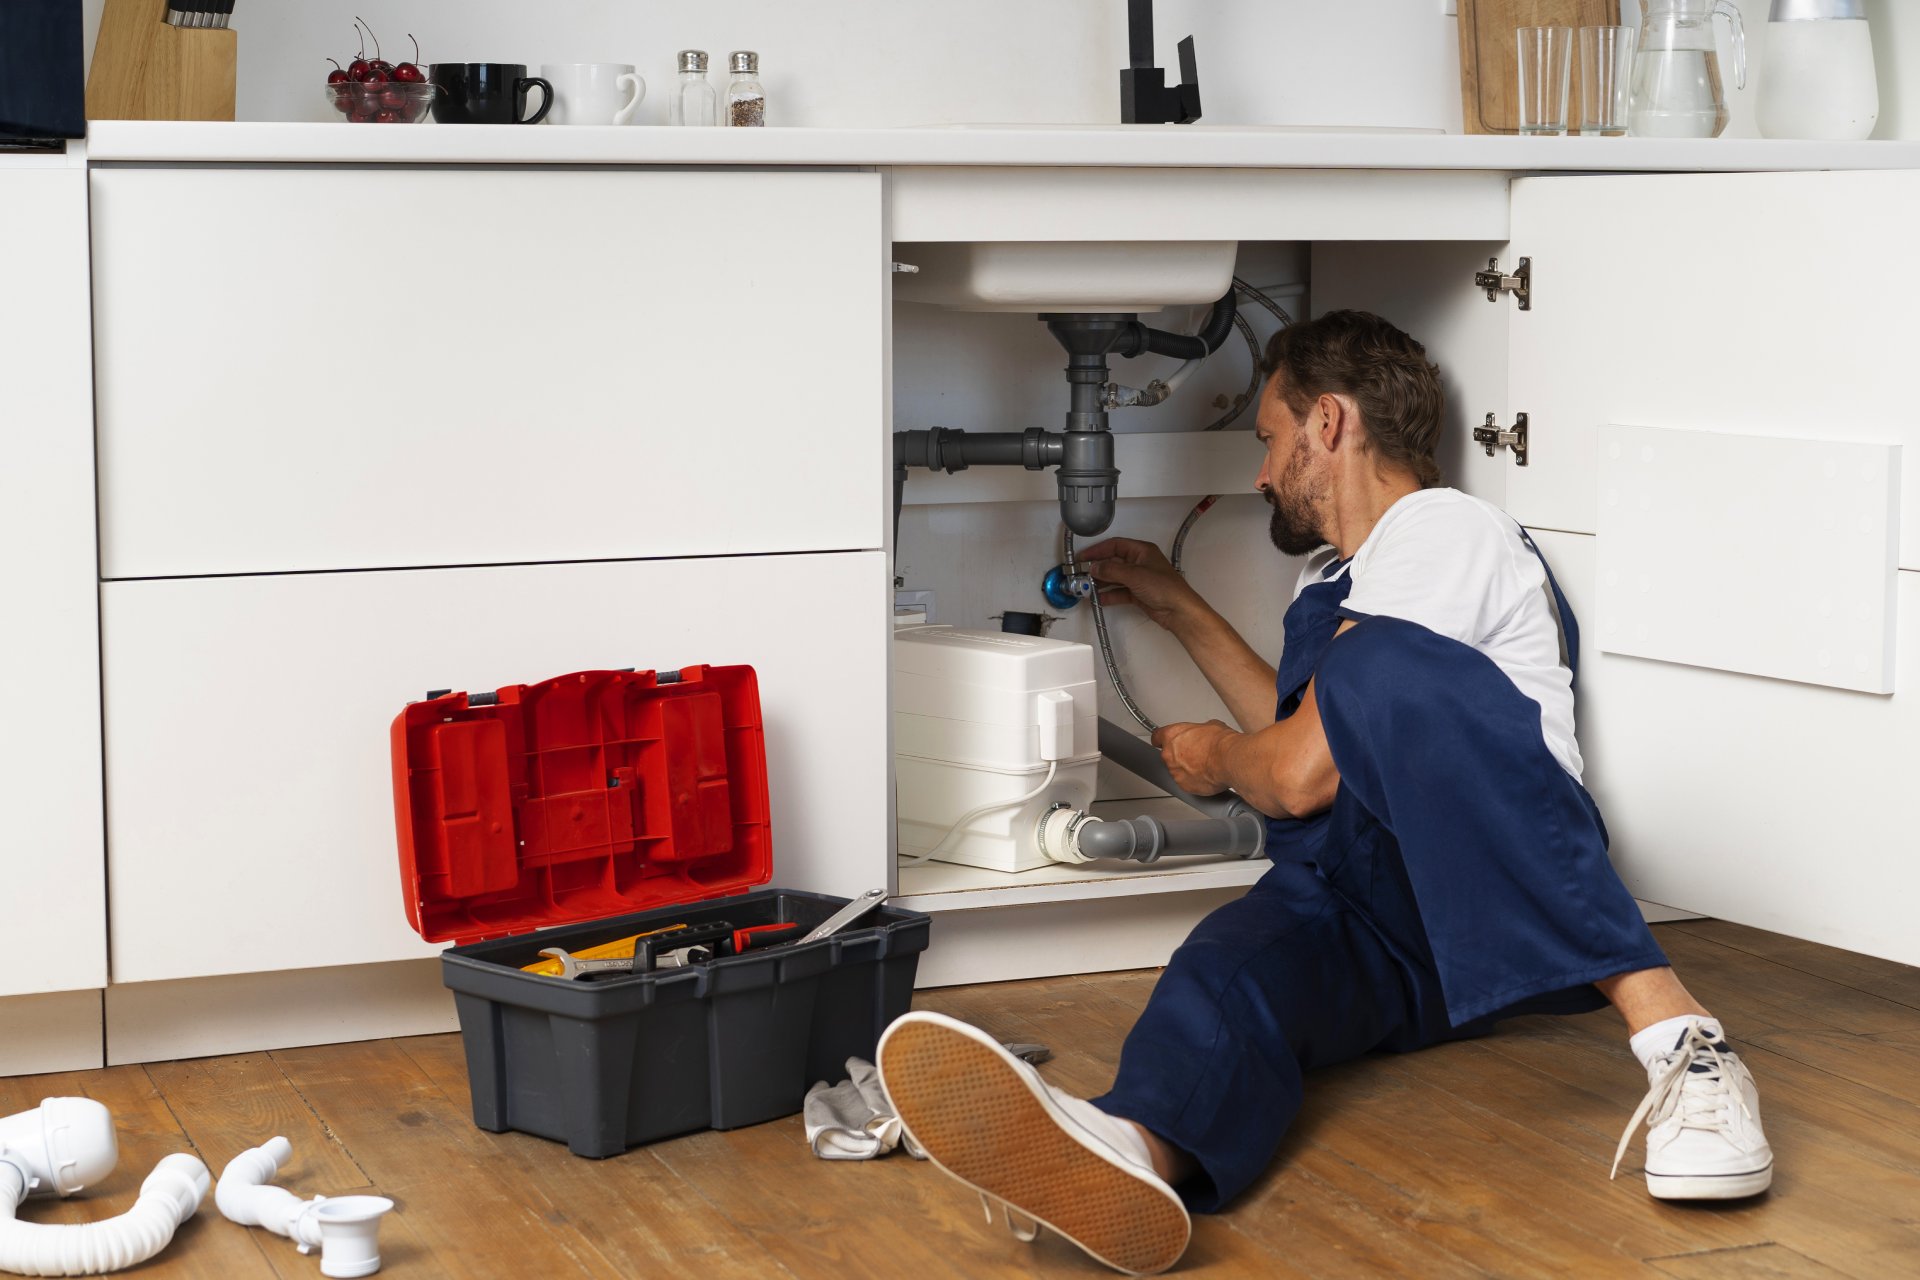
- Check the water shut-off valve:
- Locate the valve typically behind the refrigerator or under the sink
- Ensure it's fully open (handle should be parallel to the pipe)
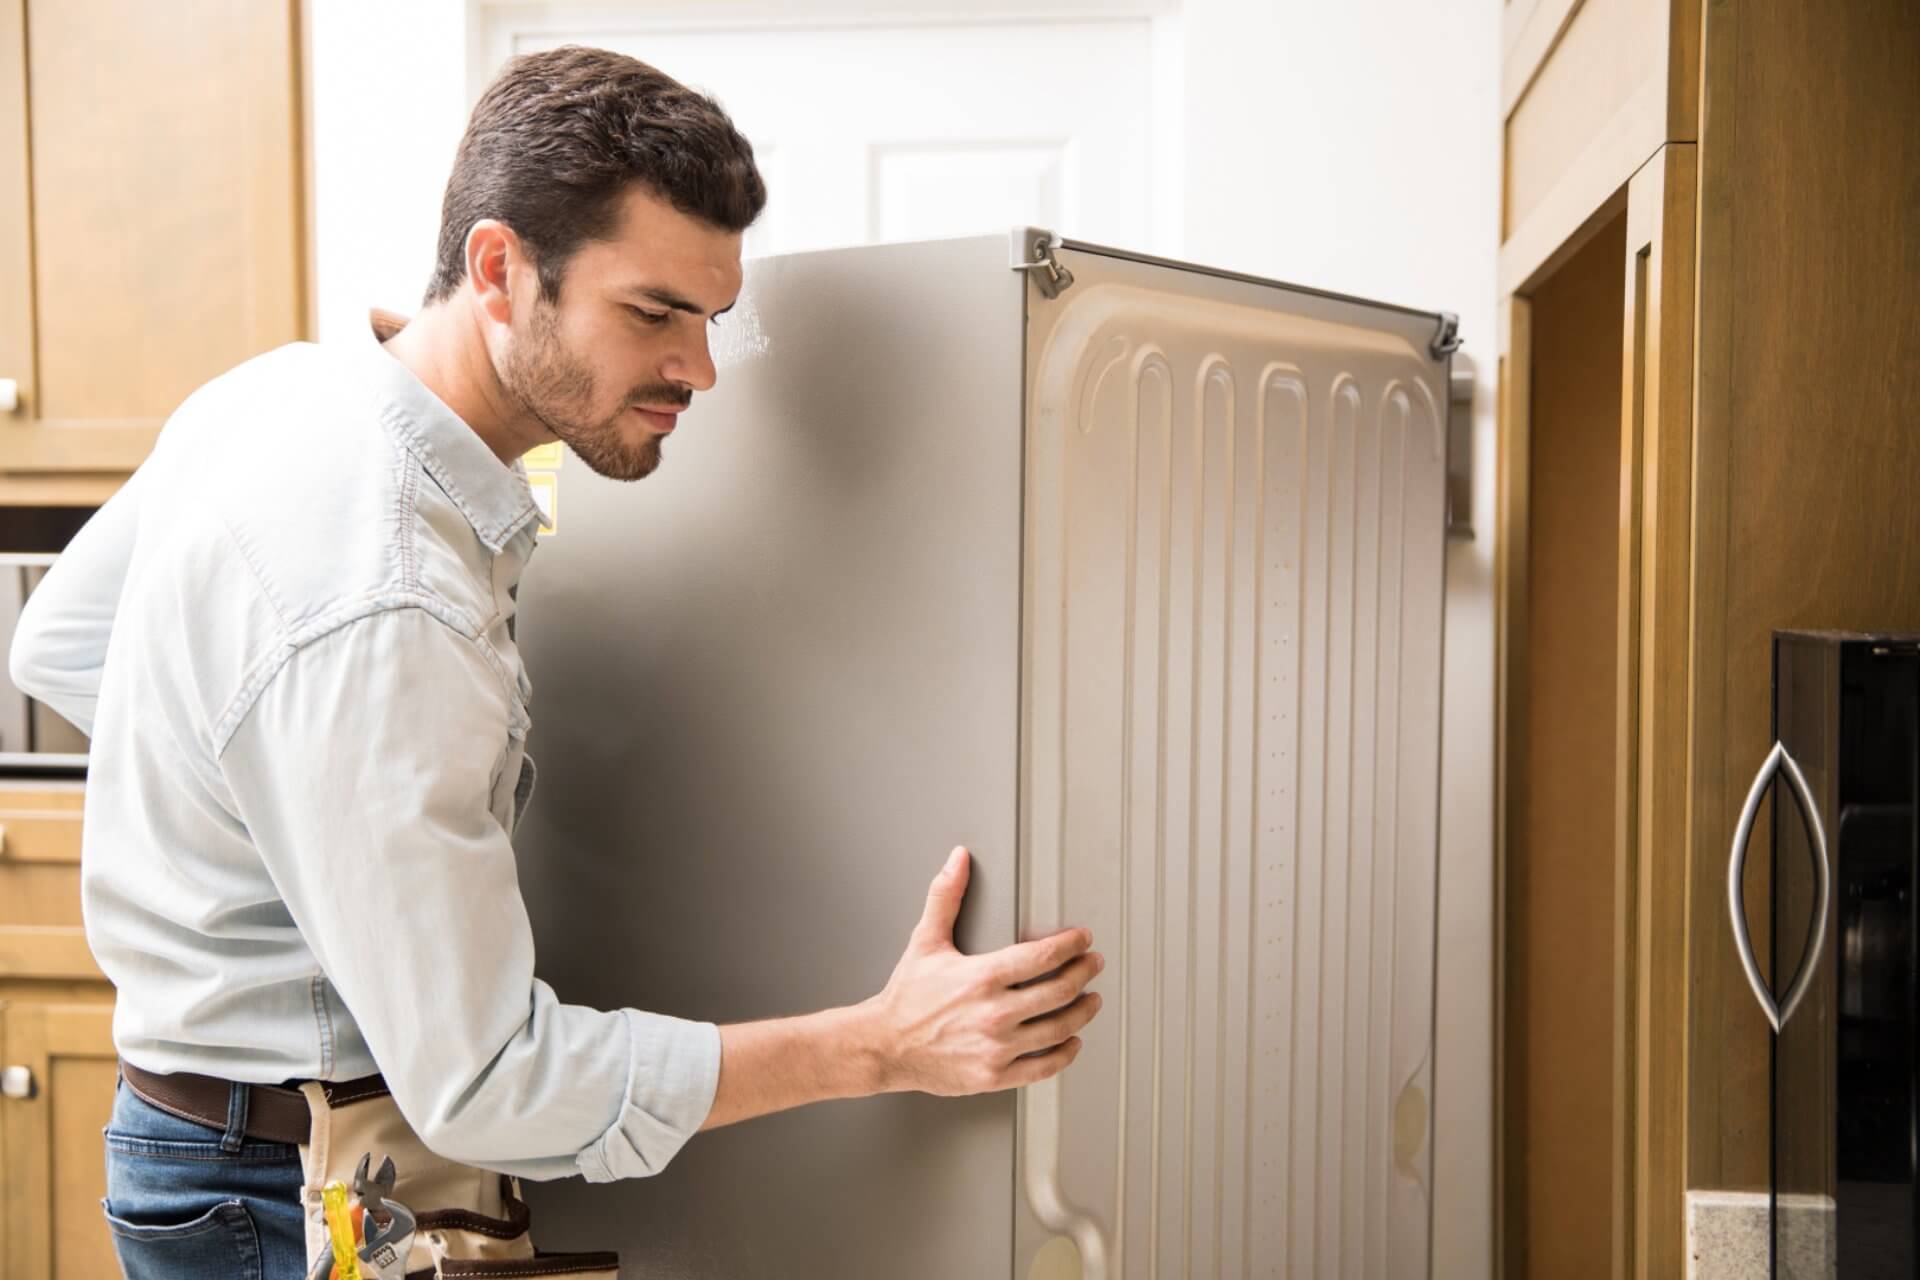
- Inspect the water line for kinks:
- Pull the refrigerator out carefully
- Check the entire length of the water supply line for bends or kinks
- Straighten any restricted sections
- Check water pressure:
- Try the water dispenser if your model has one
- Weak flow indicates potential pressure problems
- Normal household water pressure should be 275-550 kPa (40-80 psi)
- Test inlet valve:
- Listen for a humming sound when the ice maker calls for water
- No sound could indicate a faulty water inlet valve
Common Issue: After moving a refrigerator, the water line connection can become loose or kinked. Always check these connections whenever you relocate your fridge.
5. Reset the Ice Maker
Why It Matters: Like any electronic device, ice makers can experience software glitches or get stuck in error modes. A simple reset solves approximately 25% of mysterious ice maker failures with zero parts or tools required.
DIY Fix:
- Locate the reset button or switch (varies by model):
- Often found on the side or bottom of the ice maker unit inside the freezer
- May be a small hole requiring a paperclip to press
- Some models use a combination of button presses on the control panel
- Perform the reset:
- For button resets: press and hold for 10 seconds
- For switch resets: turn off for 30 seconds, then back on
- For control panel resets: consult your owner's manual for the specific sequence
- Power cycle if needed:
- Turn off the refrigerator at the wall
- Wait 5 minutes to allow the system to fully discharge
- Restore power and check operation
Model-Specific Tip: Reset procedures vary widely between brands and models. If you've lost your manual, most manufacturers provide PDF versions online by searching your model number.
6. Check the Control Arm or Sensor
Possible Signs:
- Ice bin appears full but ice maker continues running
- Ice bin is empty but ice maker won't start
- Ice production suddenly stopped with no other symptoms
Most ice makers have a control arm (mechanical) or sensor (electronic) that detects when the ice bin is full. If this mechanism is stuck or malfunctioning, your ice maker won't know when to start or stop making ice.
DIY Fix: For mechanical control arms:
- Locate the control arm — Usually a wire or plastic bar that extends into the ice bin
- Check for free movement:
- Lift and lower the arm manually
- It should move without resistance
- Listen for a click when moving the arm
- Clear any ice buildup restricting movement
- Ensure it's in the down position to activate ice production
For electronic sensors:
- Locate the sensor — Typically inside the freezer wall or ice bin
- Clean sensor surfaces — Wipe with a soft, damp cloth
- Check for frost buildup — Gently remove any ice with warm water
- Ensure nothing is blocking the sensor's view of the ice level
Quick Test: If you're not sure which type you have, remove all ice from the bin, wipe it dry, and make sure any arms are in the "make ice" position (usually down). This reset works for most models.

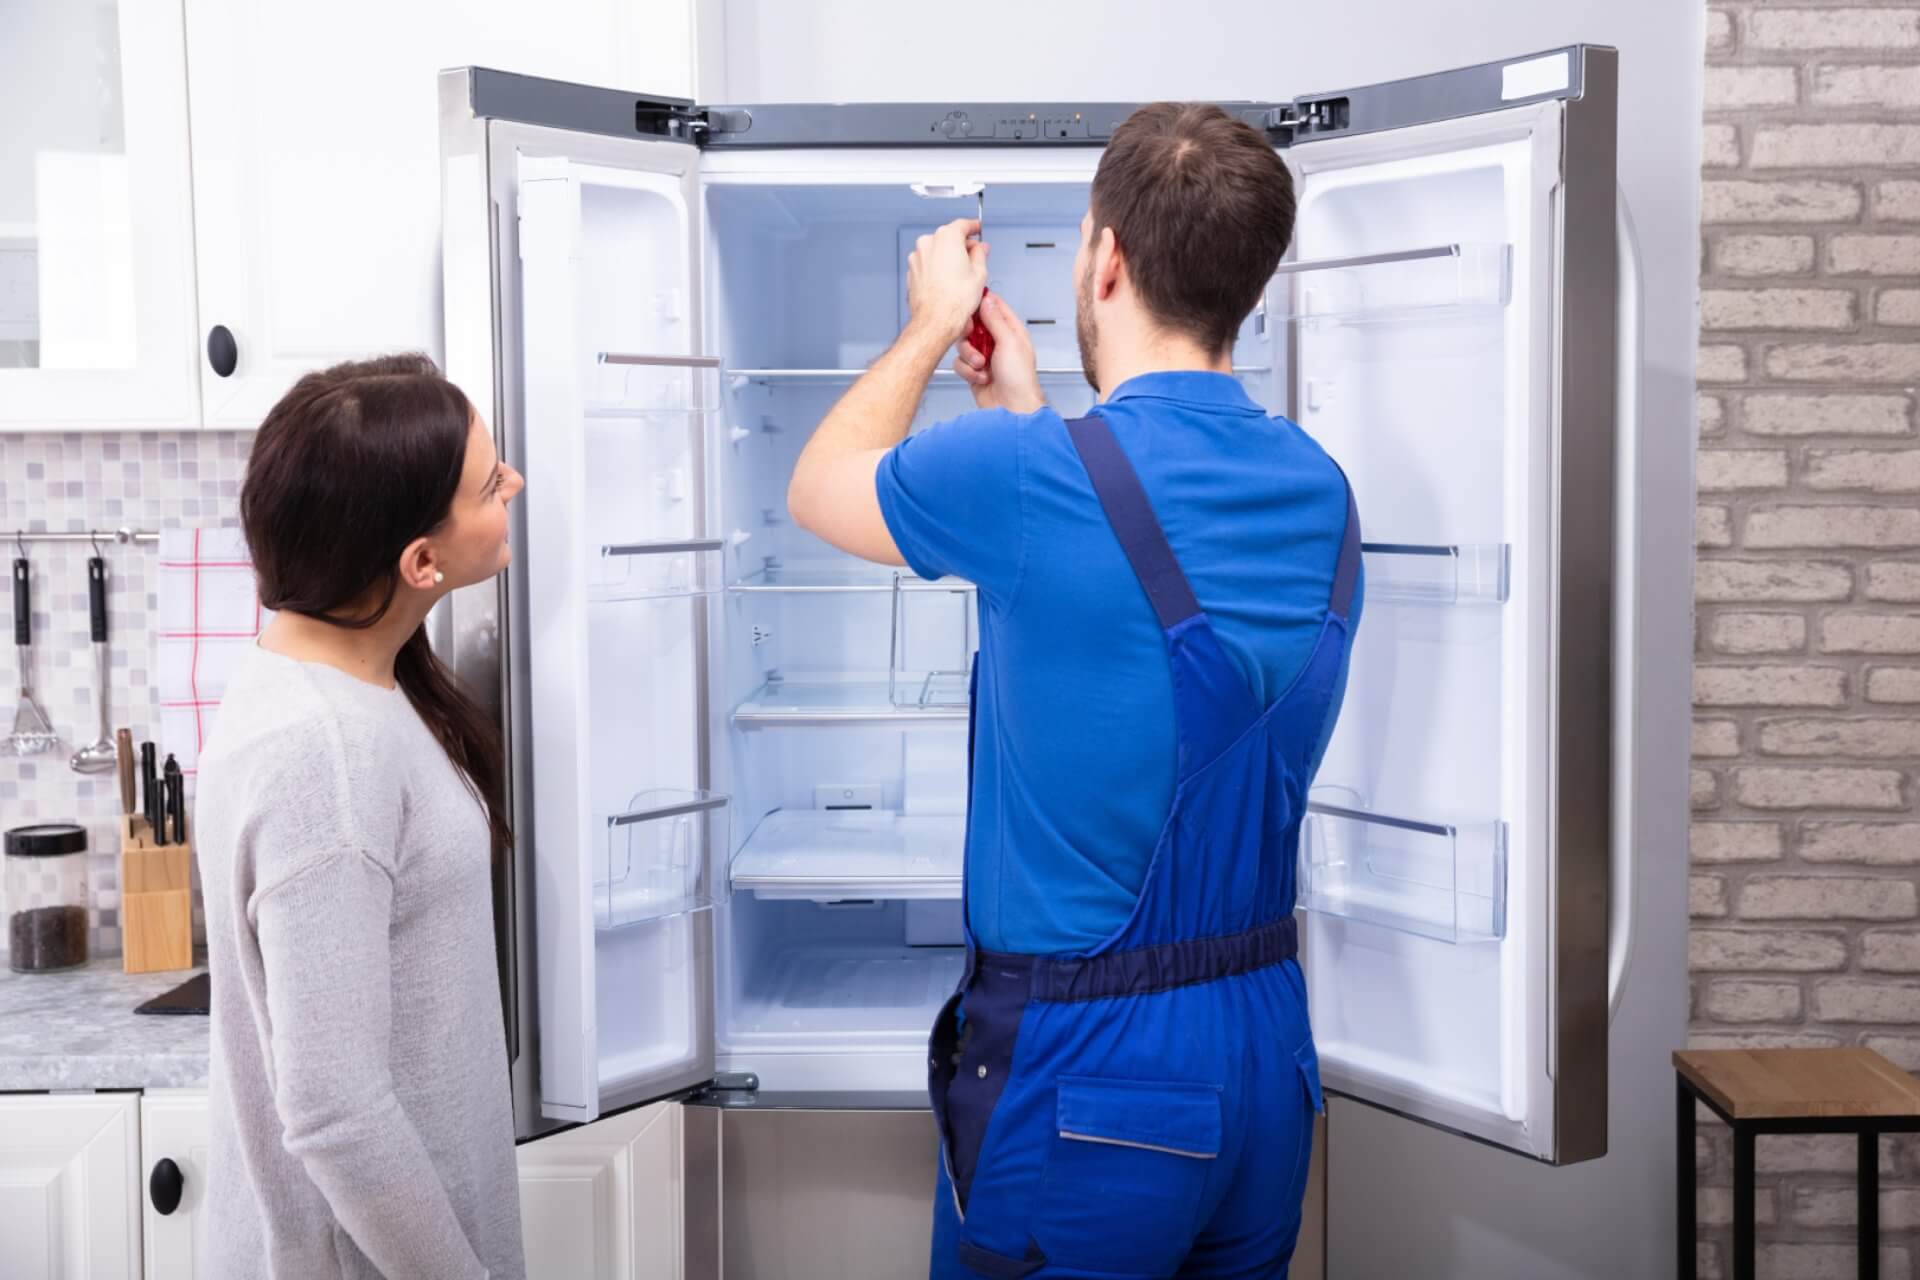
7. Inspect the Ice Maker Assembly
Why It Matters: If basic fixes haven't resolved the issue, it might be time to look more closely at the ice maker mechanism itself. Components like the fill valve, thermostat, or motor can fail over time.
DIY Fix:
- Unplug the refrigerator — Essential for safety
- Remove the ice maker cover — Usually held by screws or snap clips
- Visual inspection:
- Check for ice buildup around the ejector arms
- Look for visible damage or corrosion
- Inspect wiring connections for security
- Check the fill cup and mould:
- Ensure the water fill cup is properly aligned
- Look for cracks in the ice mould
- Clean any mineral deposits with a 50/50 vinegar and water solution
- Test the motor and ejector arms:
- With proper safety precautions, gently try to rotate the ejector arms
- They should move with some resistance but not be completely stuck
Safety Warning: According to AS/NZS 3000 (Australian Electrical Safety Standards), all complex electrical repairs should be performed by qualified technicians. If you're unsure, this is where professional help is warranted.

Prevention: Stop Ice Maker Problems Before They Start
The best way to deal with ice maker failures is to prevent them in the first place:
- Replace water filters every 6 months — This single habit prevents 70% of common ice maker problems
- Maintain proper freezer temperature — Check with a thermometer quarterly
- Use your ice maker regularly — Infrequent use can lead to component seizure
- Clean the ice bin monthly — Empty and wash with mild soap and water
- Consider water quality — If you have hard water, a whole-house filter can extend appliance life
When to Call a Professional
While these DIY fixes resolve the vast majority of ice maker issues, there are times when professional help is warranted:
- You've tried all the above solutions without success
- There are unusual electrical symptoms (sparking, burning smell)
- You notice water leaking inside the freezer or onto the floor
- Your refrigerator is under warranty (DIY repairs might void coverage)
- You're not comfortable working with water or electrical connections
Conclusion
A malfunctioning ice maker is frustrating, but as you can see, the fix is often much simpler (and cheaper) than you might expect. In my experience, about 80% of ice maker problems can be solved with the first three fixes alone - replacing the water filter, checking freezer temperature, and inspecting the water supply.
Taking care of these simple maintenance tasks regularly can keep your ice flowing and prevent most problems before they start. Your refrigerator is a significant investment, and with proper care, the ice maker should provide reliable service throughout the appliance's 10-15 year lifespan!

Frequently Asked Questions (FAQs)
How long should it take for an ice maker to produce ice? For most refrigerator ice makers, the first batch of ice should be ready within 24 hours of installation or reset. After that, expect a new batch approximately every 90-120 minutes, with complete bin filling taking 12-24 hours.
Why is my ice maker making ice very slowly? Slow ice production is typically caused by one of these issues: freezer temperature above -15°C (should be -18°C), partially clogged water filter restricting flow, or inadequate water pressure to the refrigerator (should be at least 275 kPa).
Is it normal for ice makers to make noise? Some noise is normal during the ice-making cycle. You should expect to hear water filling (a soft hissing), ice being ejected (a light thunk or crack), and ice dropping into the bin. Loud grinding, sustained buzzing, or knocking noises indicate potential problems.
Why does my ice taste or smell bad? Poor-tasting ice usually indicates it's time to replace the water filter or clean the ice bin. Refrigerator ice absorbs odours easily, so regularly cleaning your refrigerator and replacing the water filter every 6 months helps maintain ice quality.
How much does it cost to repair or replace an ice maker in Australia? Professional ice maker repairs typically cost $200-400 for parts and labour in major cities. Complete replacement units range from $250-500 plus installation. DIY replacement kits are available for many models from $150-300 if you're comfortable with basic tools.
Can I continue using my refrigerator if the ice maker isn't working? Absolutely! The ice maker is a completely separate system from the main refrigeration functions. A non-working ice maker will not affect the refrigerator's ability to keep your food cold. You can safely disable the ice maker and continue using the refrigerator while sourcing parts or waiting for repairs.

About Julian
Home appliance enthusiast and DIY repair specialist with a passion for helping others save money on appliance maintenance.
Related Articles
How to Extend the Life of Your Refrigerator: 7 Maintenance Tips
Freezer Not Cold Enough? 6 DIY Fixes for Semi-Frozen Food | Australian Guide